No wonder you’ve decided to use Stripe Invoicing to create and send Stripe-hosted invoices: it saves you time, gets you paid faster, and scales as you scale. A few questions might still arise if it’s your first time using the platform. Don’t worry: we prepared this guide to answer all your questions. We’ll discuss:
- how to prepare and modify invoices;
- how to customize them;
- how to issue credit notes;
- what the invoice lifecycle looks like
- how to automate your invoicing workflows.
Let’s get started!
Stripe Invoicing – The easiest way to get paid
If you’re unfamiliar with the Stripe Invoicing platform, let’s take a quick detour to see why it’s worth using it.
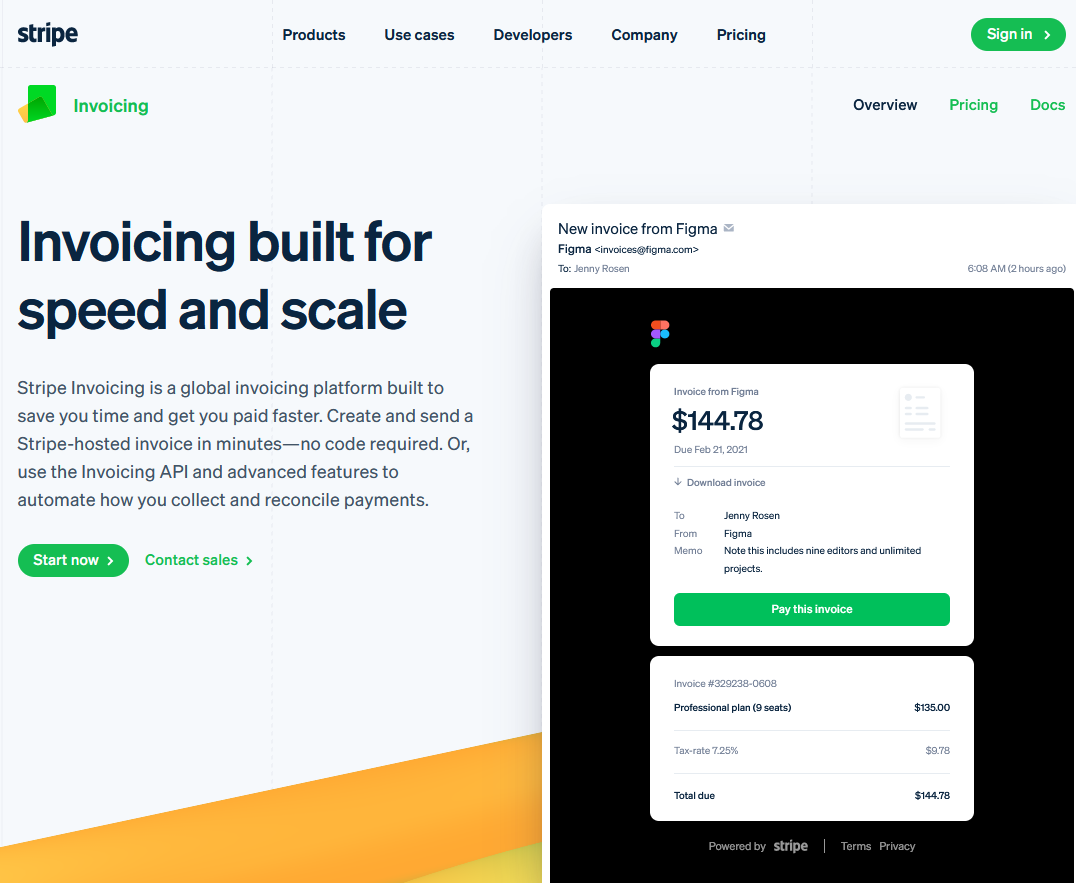
The global invoicing platform enables you to create and send Stripe-hosted invoices in minutes – without needing any coding experience. It allows you to collect one-time or recurring payments via card, ACH, and other payment methods. The best part: 70% of Stripe invoices are paid within 24 hours! However, if it takes a bit longer, you can send automatic email reminders and use Smart Retries to collect unpaid invoices.
Stripe Invoicing fees include two pricing tiers to choose from: Invoicing Starter and Invoicing Plus. You can find detailed fee information on the Stripe Invoicing pricing page.
But let’s get back to our original question: how can you create your first invoice?

Stripe Invoicing – How to create and send an invoice?
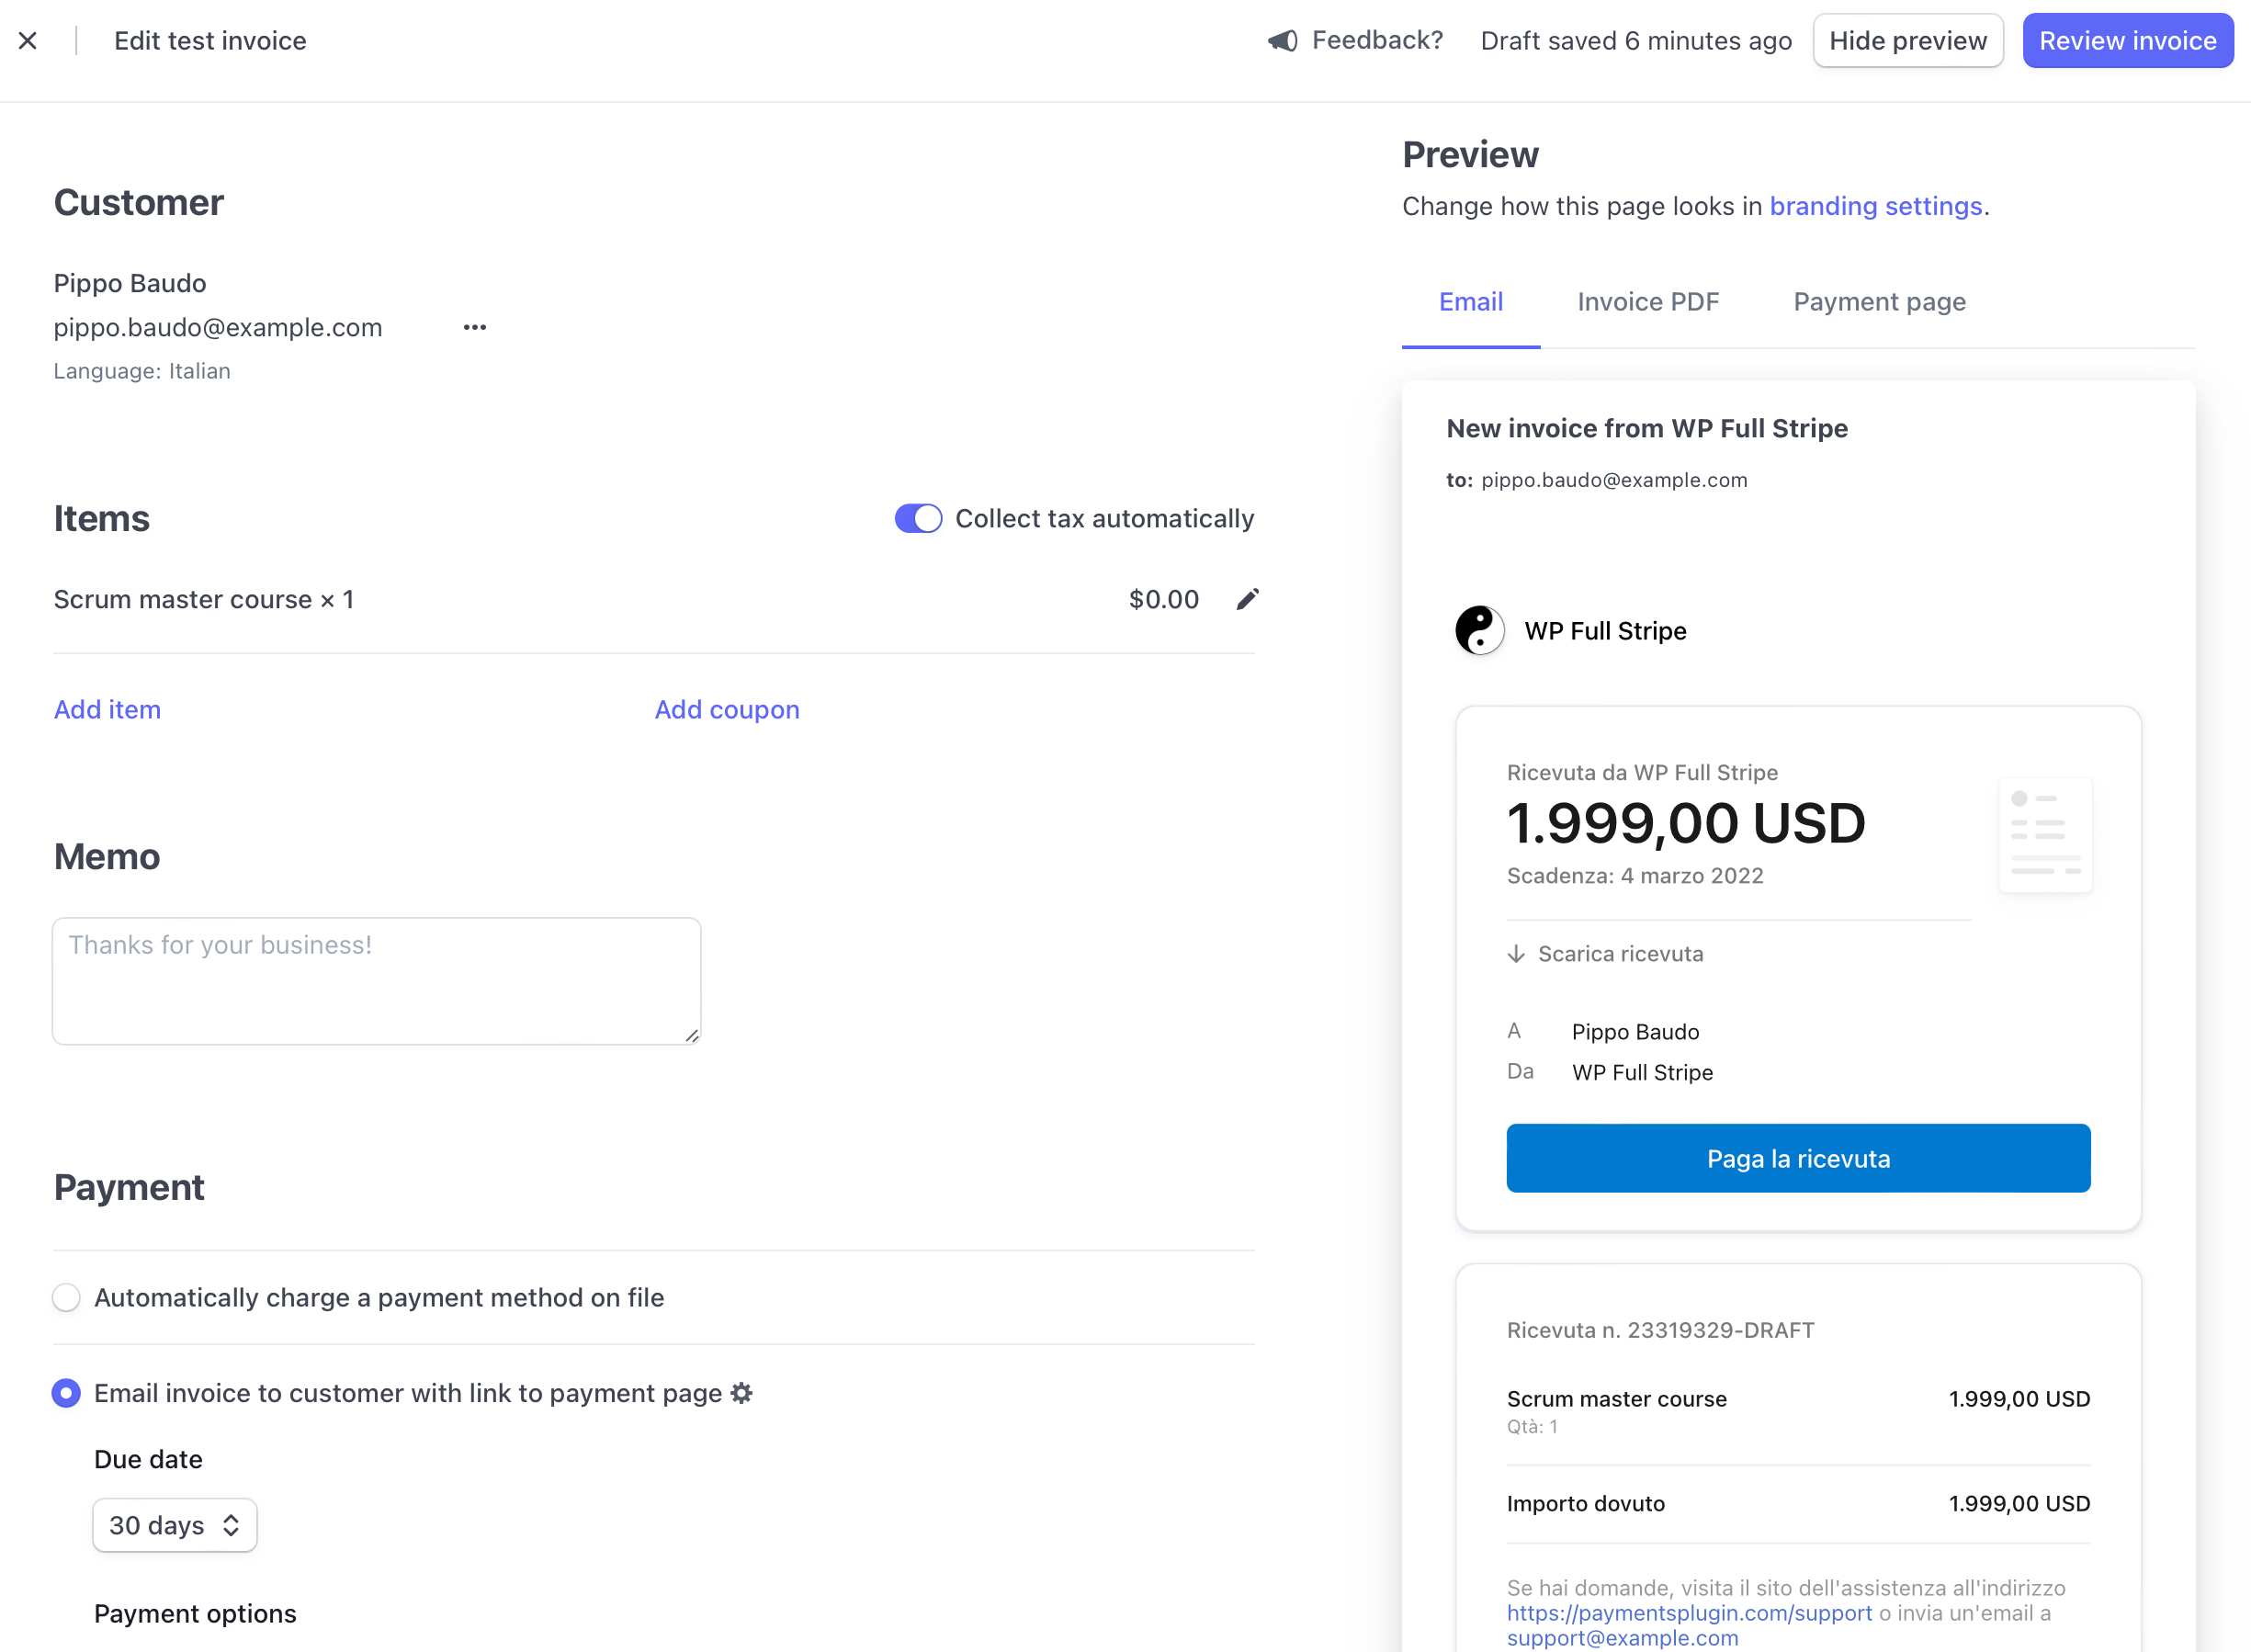
You can create a Stripe invoice right from the Dashboard. Complete the following steps:
- Click Create Invoice. (In case you need to exit the Invoice Editor, don’t worry: Stripe saves a draft.)
- As you have no customers yet, select Add new customer and enter the customer’s name. Click Save customer.
- Now, you may start creating the Stripe invoice. Select Add one-time item to create a single, one-time item. If you want to save the product for future use, select Create new product.
- Enter the Quantity and Price for your new item.
- If you need to add a tax rate or coupon, click Item taxes and coupons. (Stripe Invoicing lets you manually set a tax rate. However, you can also collect sales taxes automatically: Stripe Tax helps you stay compliant with tax rules and regulations across the globe, including EU VAT rules, by automatically calculating and collecting the correct amount of taxes.)
- If you wish, you can use the Memo box to provide more information to your customer.
- Select one of the following invoice delivery options:
- Automatically charge a payment method on file: Stripe Invoicing will immediately charge the invoice amount to your customer’s payment method that you have on file.
- Send invoice or payment page link manually: you’ll receive a payment link that you can send to customers after you confirm the invoice.
- Email invoice with link: this way, you can send an email with a payment page and an invoice PDF.
- Email invoice without link: Stripe Invoicing enables you to send an invoice PDF only.
- Finally, click Review invoice. If everything is correct, send the invoice.

How to modify your invoice?
If you made a mistake on an invoice you already created, don’t panic: Stripe Invoicing allows you to duplicate the invoice, modify it, and then send the new copy. When you duplicate an invoice, Stripe copies all the information on the original invoice except for credit notes, deleted products, prices, coupons, discounts, and tax rates.
To duplicate an invoice, view your invoices in the dashboard and click the overflow menu (three dots in the top right corner) for the invoice you want to duplicate. Click Duplicate invoice to create, edit, and then send the new invoice. Don’t forget to void the incorrect invoice!

How to customize your invoice with Stripe Invoicing?
Let’s see what Stripe Invoicing is capable of in detail:

- Custom fields: When using the Invoice editor, custom fields are located on the Advanced options pane. Here you can include up to four key-value pairs such as PO numbers, tax compliance, contractor numbers, etc.
- Memo field: As mentioned above, this field enables you to leave any personalized message to your customer. You may thank your customer for their business or give more context around the invoice. You can set a default memo field for your account on the Invoice template. New invoices will use this description. You can adjust the default memo on a per-invoice basis in the Dashboard or by using the Stripe Invoicing API.
- Footer field: This field is similar to the Memo; however, it is located at the bottom of your invoice. This is generally used to indicate legally required information related to your business. You can set the default value for the footer on the Invoice template, just like for the memo field. Similarly, you can adjust the footer on a per-invoice basis through the Dashboard or API.
- Stripe invoicing payment methods: You can manage your accepted payment methods under Default payment terms in the Invoice template. Stripe Invoicing dynamically shows optimized payment methods based on your customer’s location. Accepted payment methods include cards, bank transfer, EPS, PAD, Alipay, SEPA direct debit, and more. Under Default payment terms, you can also select when the payment is due after you send the invoice. Furthermore, you can choose whether to include a Stripe-hosted link to an invoice payment page in the invoice email. Customers can visit this link to pay, download, and see the status of their invoice.
- Localized language: In Stripe Invoicing, you have the option to set a specific language on your customer’s profile. Stripe Invoicing supports 25+ languages. Invoices, PDFs, receipts, and emails will be sent out in the selected language to your customer. When you create a customer, use the Language drop-down to add their preferred language. (You can also add or edit a customer’s preferred language when creating a new invoice or on the Customer details page).
- Public support information: You can include any public information on your invoice that you’ve specified in your account details, such as your phone number or website address.

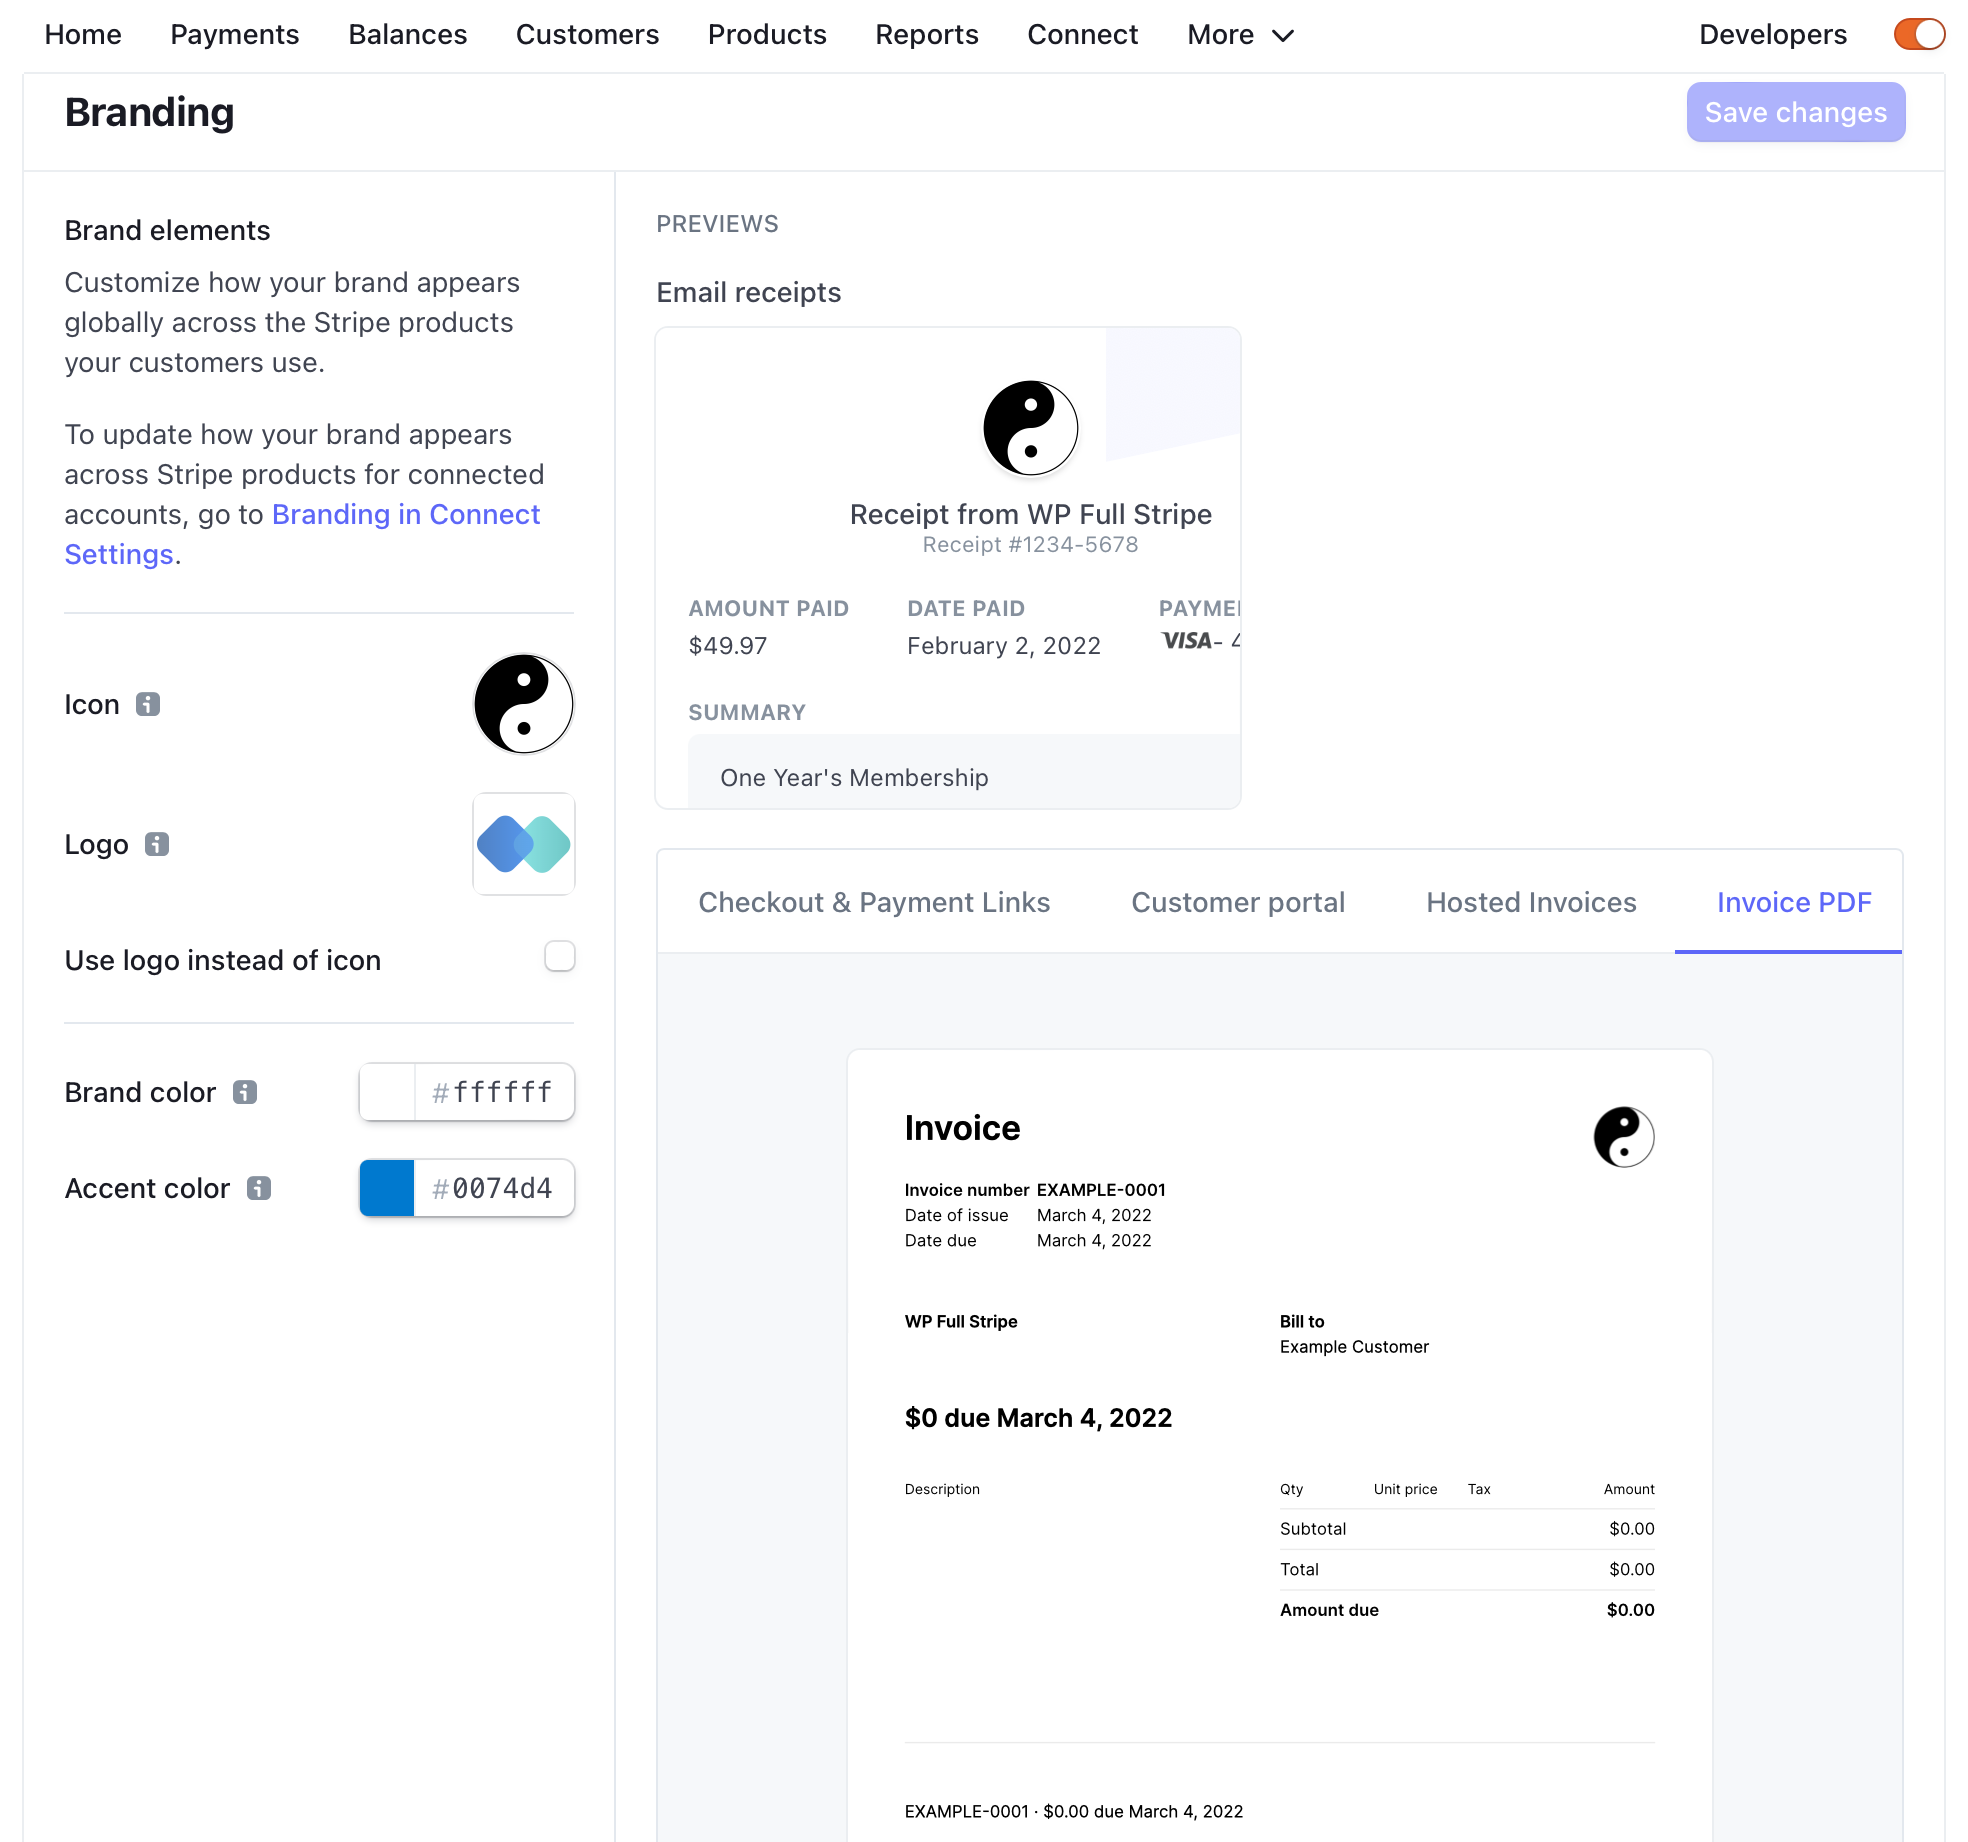
- Customized branding: Let’s not forget about the design! Stripe allows you to customize email receipts, hosted invoices, invoice PDFs, and more. On the Branding settings page, you can alter the look of your customer’s user interface, emails, and invoices by setting up icons, logos, and changing the background color.

How can you issue credit notes?
First things first, what are credit notes?
They’re documents that decrease the amount owed on an invoice. You might need to issue one if you accidentally overbilled a customer or realize that you’re short on inventory after billing your customer. In these cases – instead of voiding and recreating an invoice – issuing a credit note offers a fast and easy way to adjust the amount of a finalized invoice.
How to create one with Stripe Invoicing?
- You can create a credit note for any open or paid invoice by opening the Invoices page in the Dashboard.
- Click on the invoice you want to add a credit note to.
- Click More and select Issue a credit note.
- Select a reason for the credit note.
- If you need to, you can also:
- edit line item credit quantities or amounts;
- click Add item to add a custom line item;
- click Set item tax to select a tax rate to use for credit purposes.
- Choose how you want to refund your customer.
- Click Issue credit note to submit the credit note. And that’s it!

Invoice lifecycle in Stripe Invoicing
Now you can easily create and modify invoices in Stripe. But what happens with the invoices once they are sent out?
Stripe Invoicing has its own straightforward lifecycle. In your dashboard, you can see five different statuses for your invoices.
- Draft: As mentioned above, you have the option to save invoices for later use. If you’d like to edit the invoice later, click “x” in the top left corner. The invoice will show up as a “Draft” in the list of your invoices.
- Open: This means that the invoice has been sent and is currently awaiting payment from your customer. At this point, you cannot edit the invoice anymore; however, you have options to change its state to “Paid”, “Void”, or label it as “Uncollectible”.
- Void: Use this when an invoice has been finalized, but you need to cancel it. This may happen when a customer cancels the order or you made a mistake when preparing the invoice.
- Uncollectible: If your customer is unable or refuses to pay, mark the given invoice as ”Uncollectible”. It’s essential to keep track of such invoices as these bad debts can be written off by your accountant.
- Paid: If your customer has paid for your invoice, it will automatically appear as “Paid” on your dashboard. You may also manually mark invoices if the payment came through some other way.
Stripe Invoicing – How to automate your invoicing workflows?
If you have monthly recurring invoices, you can use Stripe’s automatic invoice sending feature to eliminate repetitive manual invoicing. Under Customer, click Subscriptions then +New to select your customer from the drop-down menu. Once you’ve selected your customer, you can easily set up a recurring Stripe payment which will be sent out automatically every billing period.
Regarding one-time payments, we recommend using the Stripe payments plugin WP Full Pay for WordPress sites. The plugin allows you to turn automatic invoice generation on and off. This comes quite handy if you need to comply with unique customer needs. Generating invoices is turned off by default in the plugin. Invoicing can be turned on on the “Payment” tab of forms by setting the “Generate invoice” option to “Yes”:

When invoicing is turned on, the invoices are automatically generated by Stripe, so all relevant invoice settings (branding, memo, footer, invoice numbering) will be respected. To configure WP Full Pay with Stripe APIs, see our full guide on Stripe API keys.
Stripe Invoicing also offers a number of automated recovery features to collect payments. When a payment fails, Stripe retries to collect it according to the rules defined under Manage failed payments for subscriptions in your Subscriptions and emails settings. Smart Retries uses machine learning to choose optimal times to retry failed payment attempts. This way, it can increase the chance of successfully paying an invoice. Furthermore, you can turn automatic reminders on or off with Send reminders if a one-off invoice hasn’t been paid from your Subscriptions and emails settings.
Stripe Invoicing – Wrap up
As you can see, Stripe Invoicing is an excellent tool to create professional invoices in seconds. After making yourself familiar with the platform, creating, modifying, and customizing your invoices as well as automating your invoicing workflows will be a walk in the park thanks to the smooth and intuitive user interface. Use the above guide to get started!