Looking to accept payments directly on your WordPress website without complex setups? You’re in the right place. In this simple, step-by-step guide, you’ll learn exactly how to add payment buttons in WordPress using Stripe—no coding needed!
We’ll cover exactly what payment buttons are, how you can set them up on your WordPress site, different ways to use them effectively, and answer the most common questions to get you started quickly.
What Are Payment Buttons and How Do They Work?
Payment buttons enable visitors on your WordPress website to buy or pay for products, services, or donations quickly and easily. When clicked, these buttons initiate secure transactions through payment gateways like Stripe.
With a Stripe payment button, you don’t need an entire e-commerce platform like WooCommerce. Instead, visitors simply click, enter payment details securely, and complete their transaction in moments—perfectly simple for customers and easy for you.
In essence, Stripe payment buttons are just simple site elements with checkout forms embedded. And, payment buttons are just one way to display checkout forms. When customers click on the payment button, they are redirected to a checkout page hosted by a payment gateway, in this case, Stripe.
📖 Learn more about the types of Stripe checkout pages and the differences between hosted and on-site checkout forms.
How to Add Payment Buttons in WordPress with Stripe (Step–by–Step)
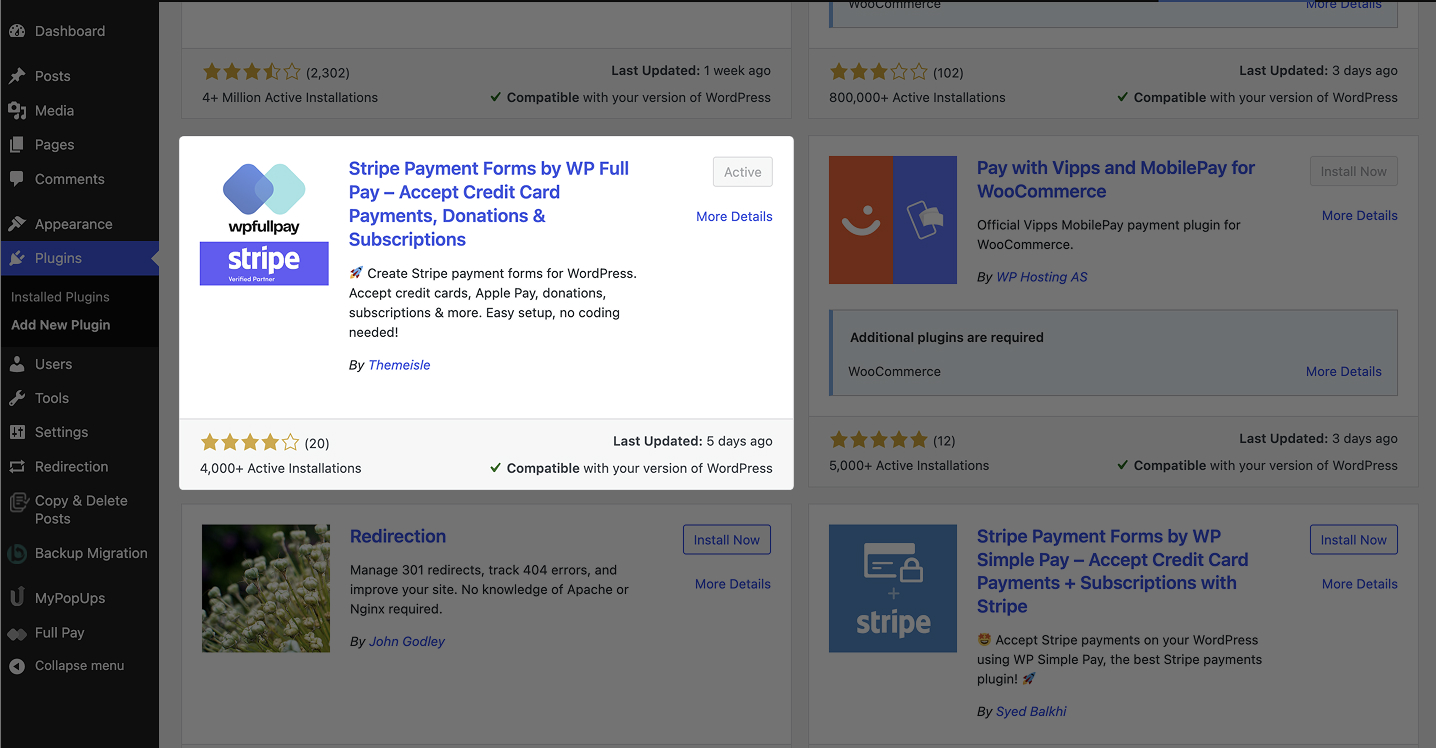
Step 1: Install WP Full Pay Plugin
- Log into your WordPress Admin Dashboard.
- Go to Plugins → Add New.
- Search for “WP Full Pay” and click Install Now, then Activate.
Step 2: Create Your Stripe Product
- Log into your Stripe account.
- Navigate to Products → Add Product.
- Add product details, pricing (one-time or recurring), then save.
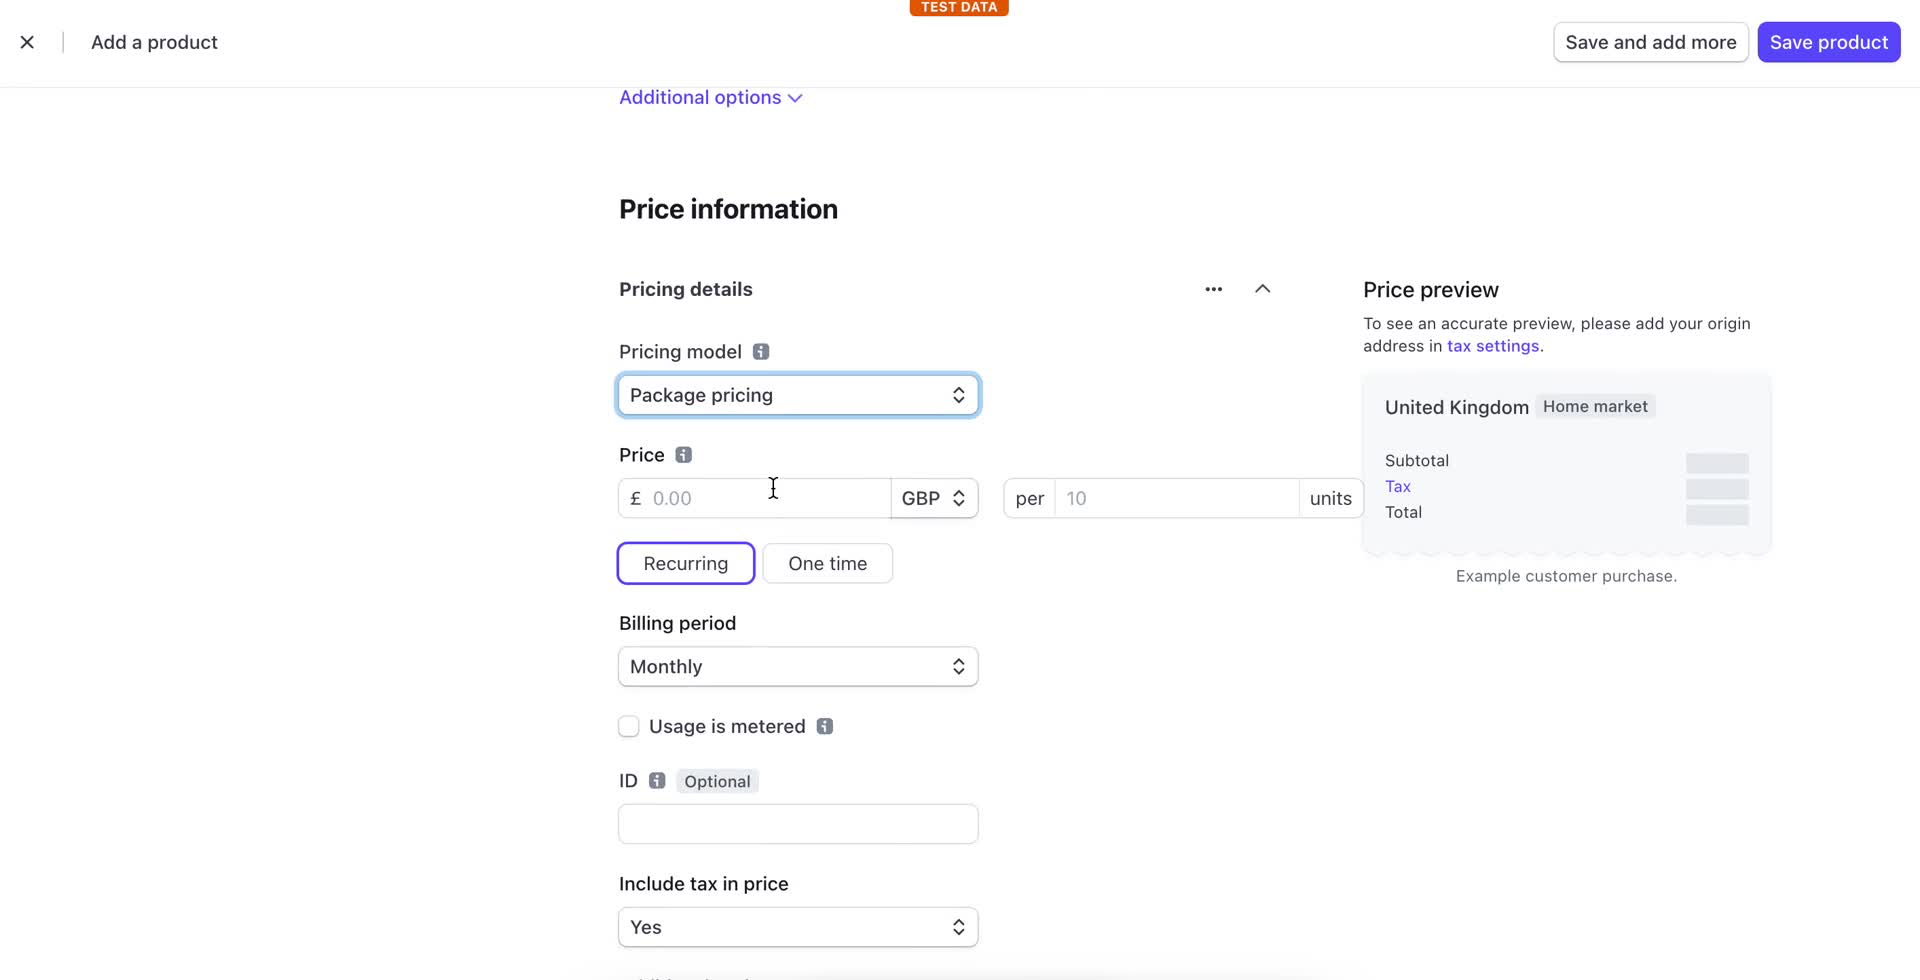 Adding ‘Recurring’ or ‘one-time’ payment products in Stripe
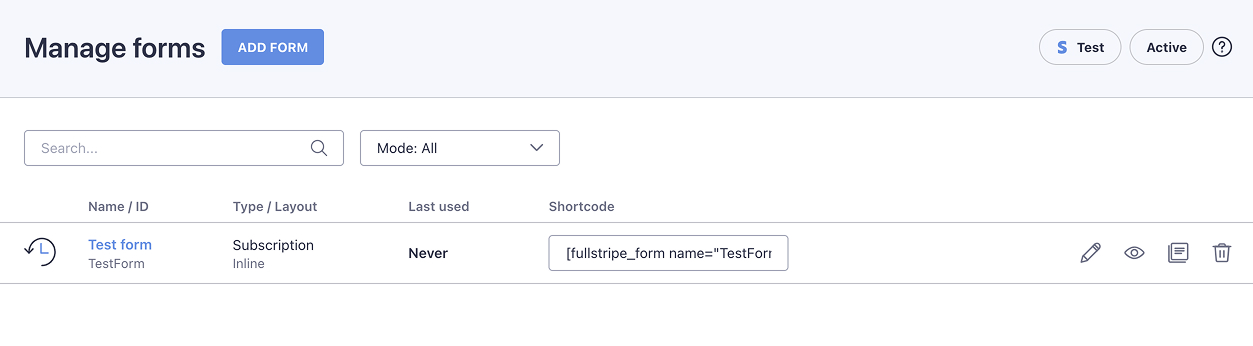
Step 3: Set Up the Stripe Payment Button Form
- Inside WordPress, go to WP Full Pay → Forms.
- Select Add Form, choose your Stripe form type (one-time, subscription, donation).
- Select a “Hosted Checkout” layout, link your Stripe product, customize your form, then save.
Step 4: Place the Payment Button on Your WordPress Site
- Choose the form you created in WP Full Pay.
- Copy the shortcode generated by the plugin.
- Paste this shortcode into any WordPress page, post, or widget where you want the payment button to appear.
- Save changes and preview your payment button live.
Where to Use Stripe Payment Buttons? Popular Real-World Scenarios
- Single Product Pages: Sell any physical or digital product instantly.
- Service Booking Pages: Allow clients to quickly book consultations or appointments.
- Courses & Webinars: Enable seamless enrollment and easy payments.
- Donation Forms: Accept donations directly through your site.
- Event Registrations: Collect event ticket payments without complicated setups.
- Membership & Subscription: Let subscribers manage recurring payments effortlessly.
Payment Buttons vs WooCommerce: Which Is Better?
Using payment buttons is ideal for small catalogs, services, single-product stores, and easy setups. WooCommerce, however, is best if you have a large online store with advanced requirements like inventory control and shipping calculators.
Frequently Asked Questions (FAQs): Payment Buttons in WordPress
How to add payment gateway in website WordPress?
Install a reliable plugin such as WP Full Pay, link your Stripe account, and embed the generated form shortcode. Your site is ready to accept payments!
How to link a form to a payment button in WordPress?
Inside WP Full Pay, create a payment form and copy the shortcode. Paste the shortcode onto any WordPress page or post to instantly create a working payment button.
How to set up a payment button on WordPress with different payment methods?
Create Stripe Products and a WP Full Pay form linked with Stripe. In your Stripe account, activate various payment methods such as credit cards, Apple Pay, Google Pay, Venmo, etc. The plugin and Stripe automatically handle multiple payment methods at checkout.
How to accept payments on WordPress?
Accept payments using a payment gateway integrated plugin like WP Full Pay. It securely connects your WordPress site directly to Stripe, allowing easy payment acceptance.
How to add Stripe payment button to WordPress website?
Use WP Full Pay to quickly add Stripe payment buttons. Install the plugin, create products on Stripe, generate checkout forms, then embed on your website.
How to make a payment button on WordPress for free?
WP Full Pay offers a free version available directly from the WordPress plugin repository. Install, activate, build your Stripe payment button, and insert it on any page easily.
How do you add a “Pay Now” button to WordPress?
Simply use WP Full Pay, create a hosted checkout form, name it “Pay Now,” copy the shortcode, and paste it onto any desired location on your WordPress site.
📖 You might also like to read: What is a Buy Now buttons and how to add it in WordPress?
What’s the easiest way to process payments on WordPress?
The easiest way is via pre-built payment plugins like WP Full Pay, which handles all complexities. Within minutes, forms are ready, allowing you to securely process payments.