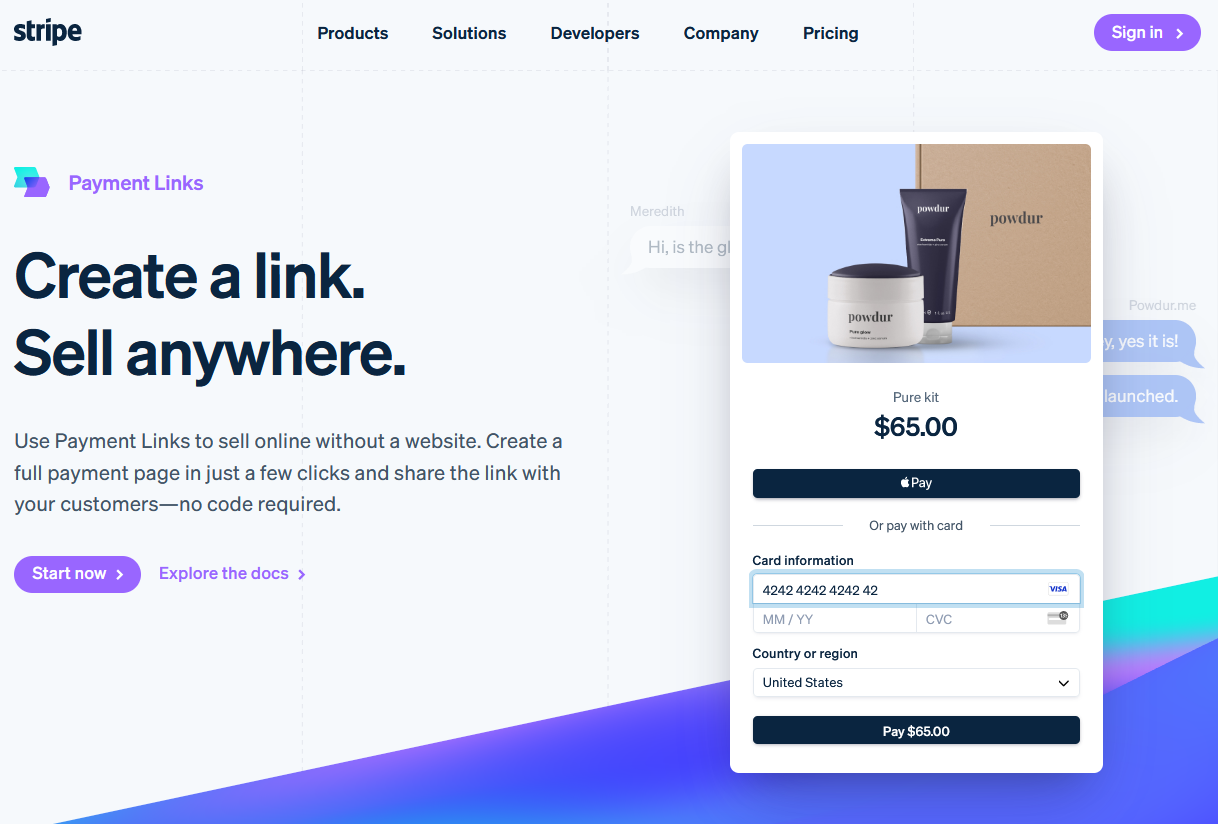
Did you know that you don’t even need to build a website or application anymore to accept payments online? Yep, that’s right: Stripe Payment Links enables you to create a full payment page in seconds, share it, and get paid instantly – and all this without writing a single line of code!
Let’s see how the integration works.
What exactly is Stripe Payment Links?
Stripe Payment Links is a no-code integration from Stripe that lets businesses, especially online businesses, accept payments quickly. Simply, it’s a quick, no-code solution that allow you to sell anywhere by sharing the links.
It creates special links for payments that businesses can share easily. With the Stripe Payment Links, you can take a one-time payment, set up recurring charges, sell a product or service, or accept donation.
How?
All you’ve to do is create a full payment page in just a few clicks and share the link with your customers. Once activated, the payment link can be used to accept payments instantly in 195 countries around the world!
The Stripe Payment Links work with many payment options like credit cards, wallets like Google Pay, and sometimes even local payment methods. Businesses can choose how they want to handle payments and who can use the links.

Furthermore, to optimize for conversions, Stripe Payment Links supports 20+ global payment methods including credit and debit cards, ACH Direct Debit, Apple Pay, Google Pay, and BNPL payments. It even automatically matches your customer’s preferred browser language for 30+ languages!
What about Stripe Payment Links’ pricing?
The good news: you won’t need to pay anything extra! The integration is included in Stripe’s pay-as-you-go pricing model which starts at 2.9% + 30¢ per successful charge.
How Stripe Payment Links work
Here are the steps you can expect to follow when utilizing Stripe Payment Links:
1. You create a payment link → 2. Share the link with customers → 3. Customers pay → 4. You receive the payment.
- You make a payment page on the Stripe Dashboard for what you’re selling, which could be a product or a subscription.
- You give the link to your customers in different ways like emails, on different devices, or other messaging apps.
- When customers click the link, they go to a Stripe Checkout page where they pay for the item or the service.
- Once the payment is successful, you will get the money in your Stripe Dashboard.
How to create a Stripe Payment Link?
1. Create a Stripe account
If you don’t have a Stripe account yet, your first step is to register here.
2. Create a Payment Link
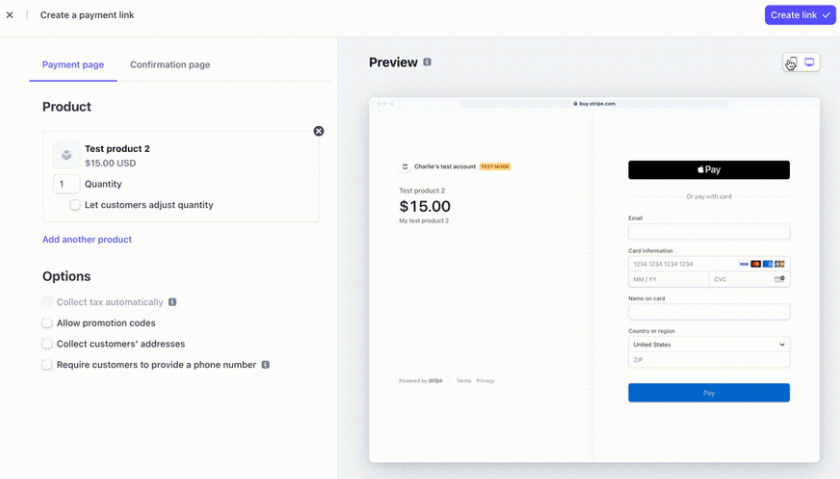
After successful registration, navigate to the Stripe Dashboard, and open the “Payment Links” page. Here, click “New”.

3. Select the payment link type
You can either choose to sell products or subscriptions (ideal for e-commerce or SaaS where you’re selling products for a fixed price) or let customers choose what to pay (best for donations, tipping, or pay-what-you-want).
4. Check payment page preview
After filling out the product and payment details, you can check the preview section to see what the payment page will look like on different devices.

5. Set thank you page (optional)
Next, you can decide if you’d like to show a thank you page after the payment is confirmed.
As the last step, click the “Create link” button.
And that’s it! You’ll be automatically redirected to the details page where you can copy and share the created link as many times as you want on social media, in emails, or on your website.
Once payments start to flow in, you can track them on the Payments Dashboard page. If you’re new to Stripe, you’ll receive an email after your first payment. If you’d like to receive emails for subsequent payments, you’ll need to update your notification preferences for successful payments in the Profile settings.
Stripe Payment Links – Additional features
To ease your plunge into the e-commerce business world, Stripe Payment Links provides some additional features you’ll love!
Customize branding and store policies
You can customize your payment page to match the look and feel of your brand.
All you’ve to do is navigate to the “Branding Settings” page from the Dashboard where you can upload a logo or icon and customize the payment page’s background and button color, font, and shapes.
Furthermore, Stripe Payment links allows you to set your store policies and support contact information on the “Checkout & Payment Links Settings” to increase buyer confidence and minimize cart abandonment.
Create QR codes
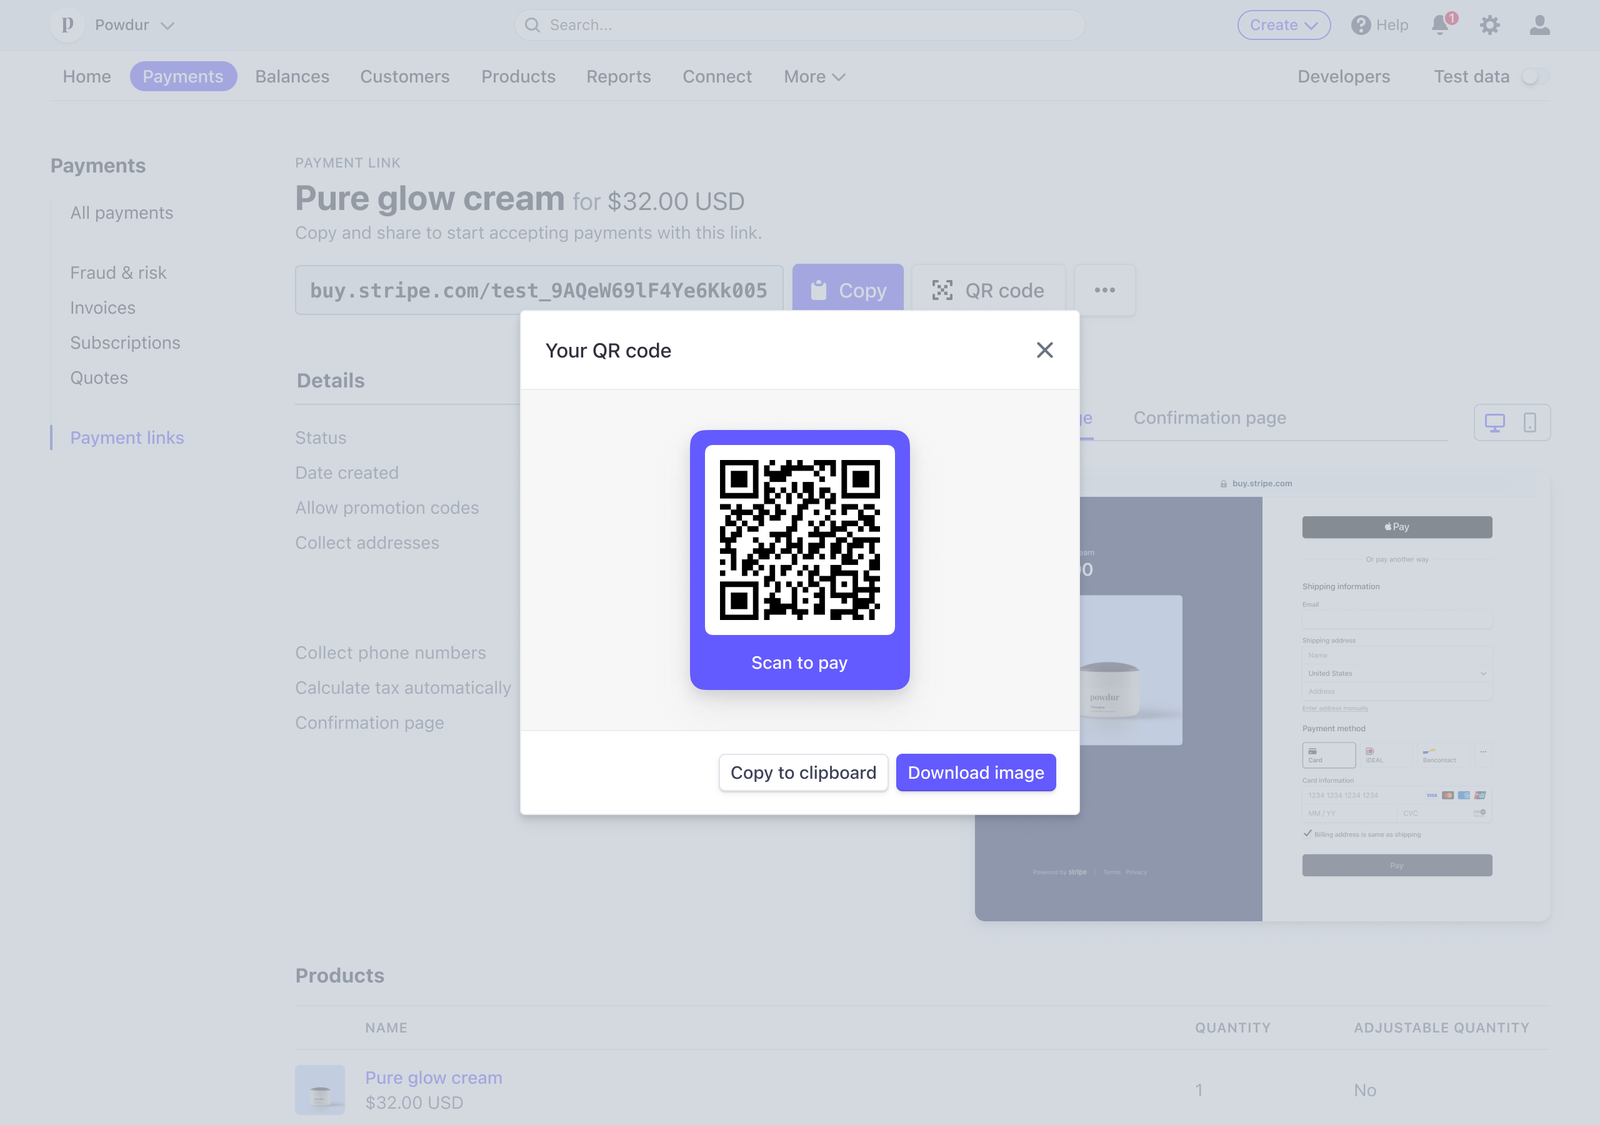
Stripe Payment Links even allows you to create a QR code for the payment link to accept in-person payments!
Head to the Dashboard, select an existing link from the “Payment Links” list view, and click the “QR code” button. Now, you’ll be able to copy or download a PNG image of the QR code.

Customize the post-purchase experience
Stripe Payment Links also enables you to customize the post-purchase experience of your customers.
For instance, you can automatically send email receipts to your customers after successful payment. You can even customize the color and logo shown on your receipts on the “Branding Settings” page of your Dashboard.
Furthermore, you can customize the confirmation message after a successful payment or redirect to a URL of your choice.
Collect taxes
It’s worth knowing that Stripe Payment Links works perfectly with other Stripe products: for instance, it enables you to automatically calculate and collect the right amount of tax on your payments with the help of Stripe Tax. This way, you can easily comply with tax regulations around the world, including EU VAT rules.
To maximize conversions, Stripe Payment Links enables you to allow promotion codes when creating a payment link.
You can create the codes by first creating a coupon and then turning that into a customer-facing promotion code in the Dashboard. Make sure to read the Stripe Payment Links docs for more details!
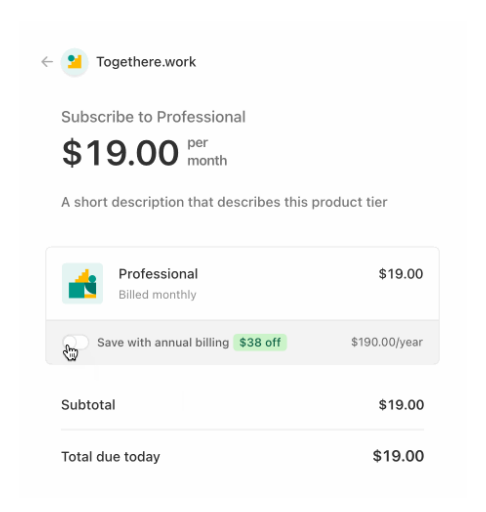
You can also allow subscription upsells by giving your customers the option to upgrade to a longer-term plan at checkout:

Furthermore, Stripe Payment Links enables you to use cross-sells to give your customers the option to purchase other related products:

This way, you can increase your average order value and cash flow!
What if you need more control of the checkout experience?
As you can see, Stripe Payment Links is a fast and easy solution to accept payments with Stripe.
However, what if you have a more complex payment flow? Or you need to create a website around your services or products to evolve your business?
In this case, using a more advanced solution such as WP Full Pay is a good idea!
WP Full Pay is a Stripe payments plugin for WordPress that enables businesses to own the payment experience end-to-end.
For instance, it allows you to have a product selector as part of the payment flow, prefill any form field based on URL parameters, or dynamically generate the thank you URL based on transaction data.
Furthermore, you can provide secure forms on your website by using Google reCAPTCHA and setting minimum payment amounts. You can also display trust seals near your form to inspire confidence in your brand, increase engagement, and persuade visitors to take action.
Furthermore, you’ll have fine-grained control over many other aspects of the transaction such as collecting additional data via custom fields, displaying currencies in different formats, or dynamically generating transaction descriptors based on data entered in the form.
The plugin even provides add-ons that can extend the payment functionality. For instance, the WP Full Members add-on allows you to make money by creating subscriber-only content!
Learn how to create a membership site with WP Full Member.
Stripe Payment Links – Wrap-up
If you’re an aspiring e-commerce business owner but don’t have the time and resources to build a digital storefront, Stripe Payment Links is the perfect solution to get started: the no-code integration enables you to create a full payment page in seconds that you can use instantly to accept payments in 195 countries around the world!
Common questions about Stripe Payment Links
What is a Stripe link code?
A Stripe Link Code is a unique link that lets customers pay online using Stripe Payment Links. Businesses create these links to accept payments without needing a full website or checkout system. When a customer clicks the link, they go to a secure Stripe-hosted payment page where they can complete their purchase.
Are Stripe payment links safe?
Yes, Stripe Payment Links are safe. Stripe uses strong security measures, including encryption and fraud protection, to keep payments secure. The payment pages are hosted by Stripe, so businesses don’t need to worry about handling sensitive payment details themselves.
Can you accept payments without a website?
Yes, you can. All you need is to create a “Product” in your Stripe Dashboard. Then, once you obtain the “link” you can share the Stripe Payment Link with your customers so they can pay you.
Do Stripe Payment Links work internationally?
Yes. But always check the specific currency or country you want to process currency from in Stripe Payment Methods page.
What payments does Stripe accept?
Stripe supports over 100 payment methods globally. The availability of specific payment methods depends on factors such as the country of your business and your customers’ preferences.
Stripe credit card processing service accepts Visa, Mastercard, American Express, Discover, Diners Club, JCB, China UnionPay, debit cards.
Can you use multiple Stripe Payment Links?
Yes, you can add multiple types of products/services in Stripe dashboard.
Are Stripe Payment Links free?
Creating payment links is free on Stripe. However, Stripe charges its basic fee upon transaction when a customer makes payment via the payment link.