If you’re wondering how to accept payments on your WordPress blog, here’s how:
With Stripe plugins built for handling payments on WordPress, you can accept and process online credit or debit card payments directly on your WordPress blog, and monetize your blogging efforts.
How to Add a Payment Gateway to Your WordPress Blog?
A payment gateway is a tool that helps businesses accept payments online. It works like a secure bridge between a customer’s bank and the business, making sure money is safely transferred when someone buys something. It also protects sensitive information, like credit card details, to prevent fraud.
Here are the steps to set up a payment gateway in WordPress blog using Stripe:
- Create a free Stripe account
- Install a Stripe Payment Plugin – WP Full Pay
- Create payment forms and embed them in blog pages
#1 Create a Stripe Account
Follow these steps:
- Visit Stripe’s website and sign up using your email address.
- Enter your business or personal details, including your business name (if applicable), address, and phone number.
- Connect a bank account or payout method to receive payments (verification may take 48 hours or longer, depending on your bank).
- Verify your identity by uploading required documents (e.g., passport, driver’s license—requirements vary by country).
- Stripe will review your information, and approval can take anywhere from a few minutes to several days. You will receive an email once your account is activated.
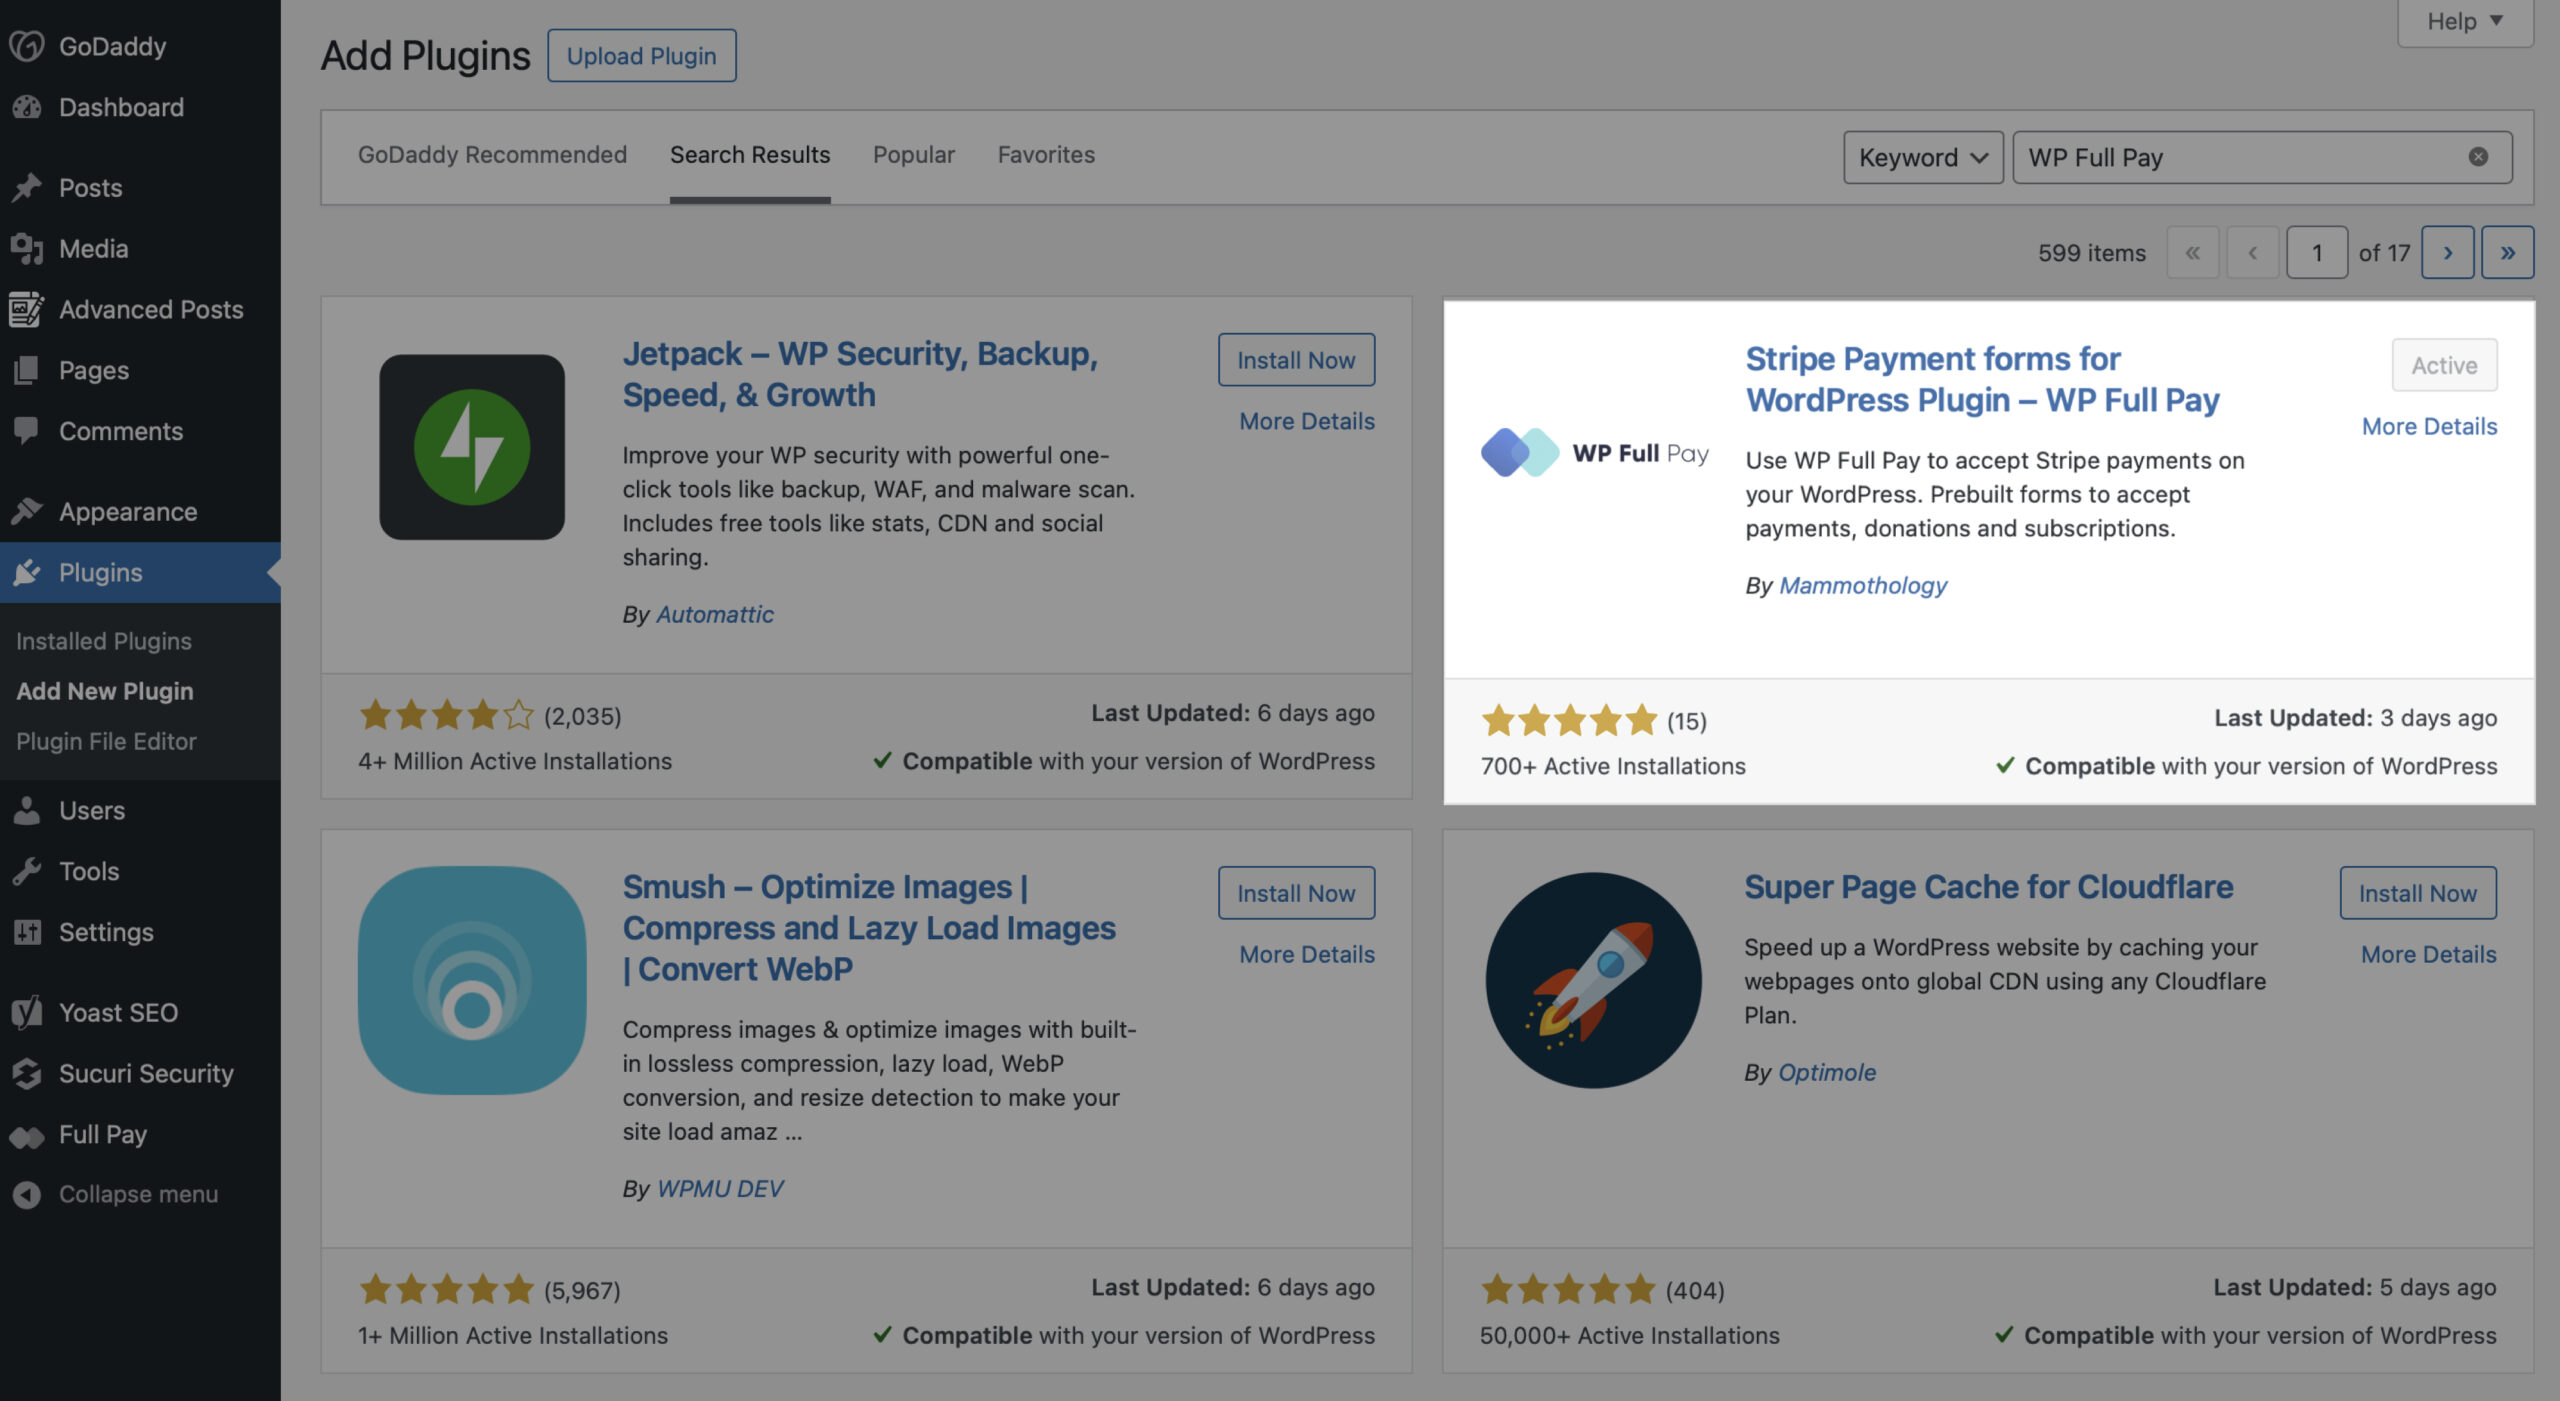
#2 Install a Stripe Payments Plugin on WordPress
WooCommerce comes with Stripe and PayPal. Since you want to add a payment gateway to a WordPress blog, you don’t need to install WooCommerce and have eCommerce functionality. And, it’s not necessary if you’re using WP Full Pay.
📖 You might also like to read step-by-step guide on how to sell products or services on WordPress without WooCommerce.
WP Full Pay provides hosted and on-site checkout forms/payment pages to accept one-time payments, donations, subscriptions, and pre-orders.
- Plugins → Add New.
- Search for “WP Full Pay” and click Install Now, then Activate.
NOTE: With WP Full Pay version 7.0 and later, you no longer need to manually add Stripe API keys. Stripe Connect makes the integration process easy and allows you to connect your Stripe account directly through the WP Full Pay.
#3 Test Stripe Connection
Once you’ve installed and connected Stripe to WordPress, check if webhooks are configured and API requests are sent correctly and you can accept payments on your blog; you should test the Stripe connection.
Stripe subscriptions are tested using test credit cards during checkout, and test transactions may be configured in the same manner as actual transactions.
Once tested, you can start creating different types of payment forms that you need for your WordPress blog.
📖 Read more about how to conduct Stripe test transactions.
Next Steps: Create and Embed Payment Forms to WordPress Blog Posts
Step 1: Create Products (Payment Forms) in Stripe Dashboard
- Log in to Stripe: Access your Stripe account.
- Add a product: Go to the Products tab and click on Add product.
- Enter details: Fill in the product name, description, pricing, and upload product image that will be shown in the checkout form.
- Save: Click Save product.
Step 2: Create Payment Forms in WordPress Admin Panel
- Navigate to WP Full Pay: In your WordPress dashboard, go to WP Full Pay → Forms.
- Add a new form: Click on Add Form.
- Select form type: Choose the hosted checkout form option. Hosted checkout form option will redirect your customers to a secure Stripe checkout page. If you want to show the form on the page and have space for that, you can choose an inline checkout form type. (Learn the difference between hosted and on-site checkout forms)
- Configure: Link the form to the product you created in Stripe and customize it as needed.
- Set the thank-you page: If you don’t have one, go to your WordPress dashboard, navigate to Pages → Add New to create a thank-you page. Then on the form settings set the page to show after a successful product purchase.
- Save: Save your form.
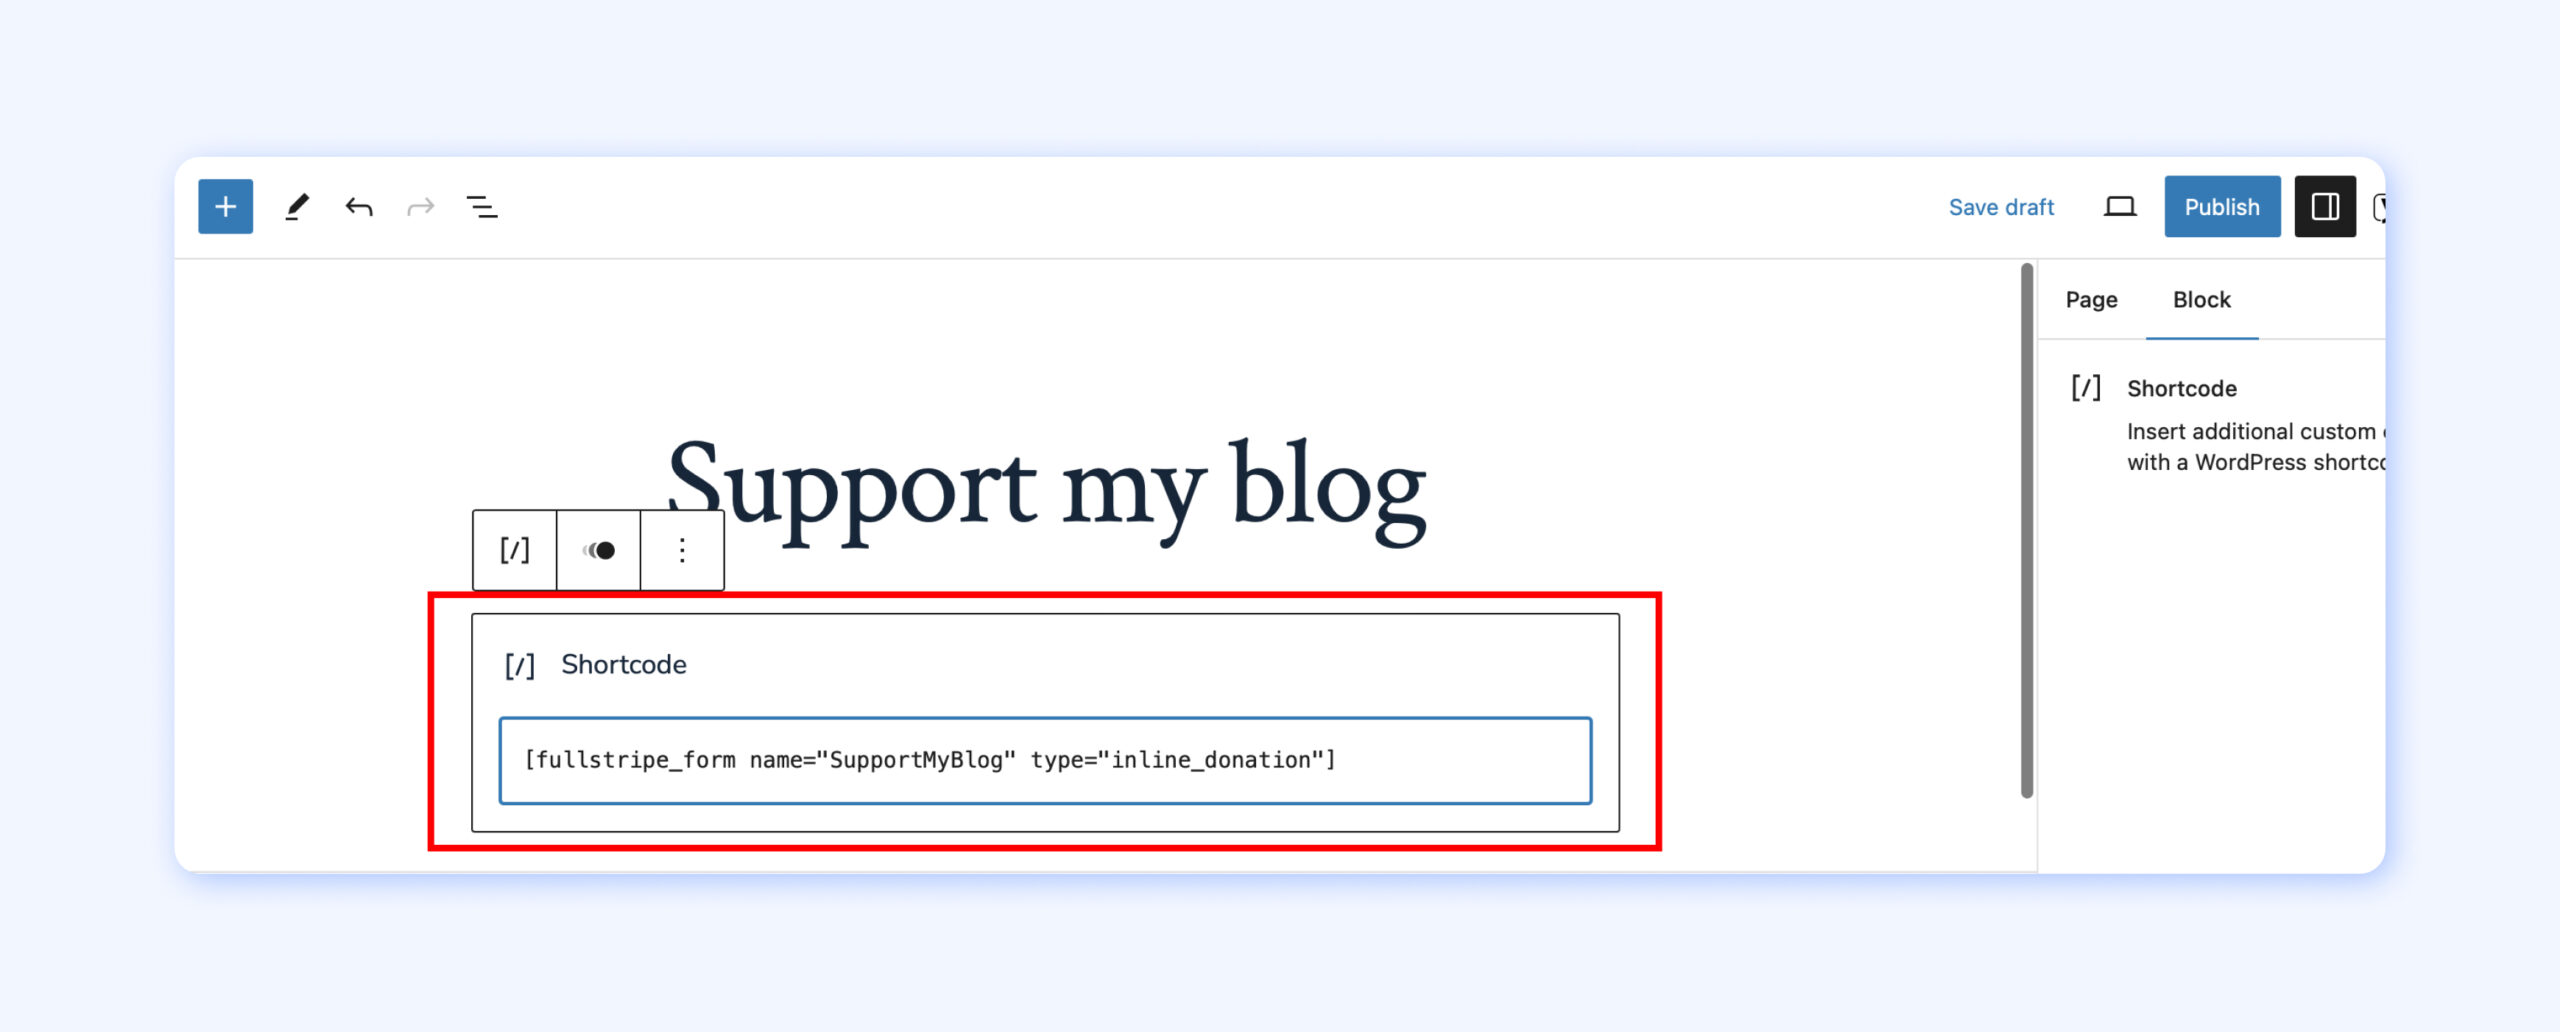
Step 3: Embed Payment Forms to Blog Posts
Finally, embed the checkout form on your product page.
- Copy shortcode: After creating the form, copy the shortcode provided by WP Full Pay on the Forms page.
- Embed: Edit your blog post page and paste the shortcode where you want the payment form to appear.
- Publish: Save and publish your page.
Start Accepting Payments on a WordPress Blog
WP Full Pay is one of the best and highest-rated Stripe payment plugins for WordPress powering over 8,000 websites worldwide with the tools you need to drive higher revenue growth.
You can download WP Full Pay plugin FOR FREE, add Stripe payment gateway to your WordPress blog, enable different payment methods accepted by Stripe, and start accepting payments.